Sprinkler repair tips for common leaks, broken heads and poor coverage

Start with the most likely problem
Most sprinkler repair problems come back to one of five causes: a broken or tilted head, a clogged nozzle, a leaking fitting, a valve that is not opening or closing correctly, or a controller schedule that no longer matches the landscape. These sprinkler repair tips apply to irrigation systems for lawns, planting beds and facility grounds. If the system is a fire sprinkler or other life-safety system, do not treat it as a do-it-yourself irrigation repair. Use a qualified fire protection contractor and follow the inspection and maintenance instructions for that system.
A practical way to troubleshoot an irrigation sprinkler system is to run one zone at a time, look for visible symptoms and match each symptom to the most likely repair. EPA WaterSense guidance points maintenance teams in the same direction: inspect for breaks and leaks, reconnect loose components, direct spray onto the landscape and choose efficient replacement parts when repairs are needed.
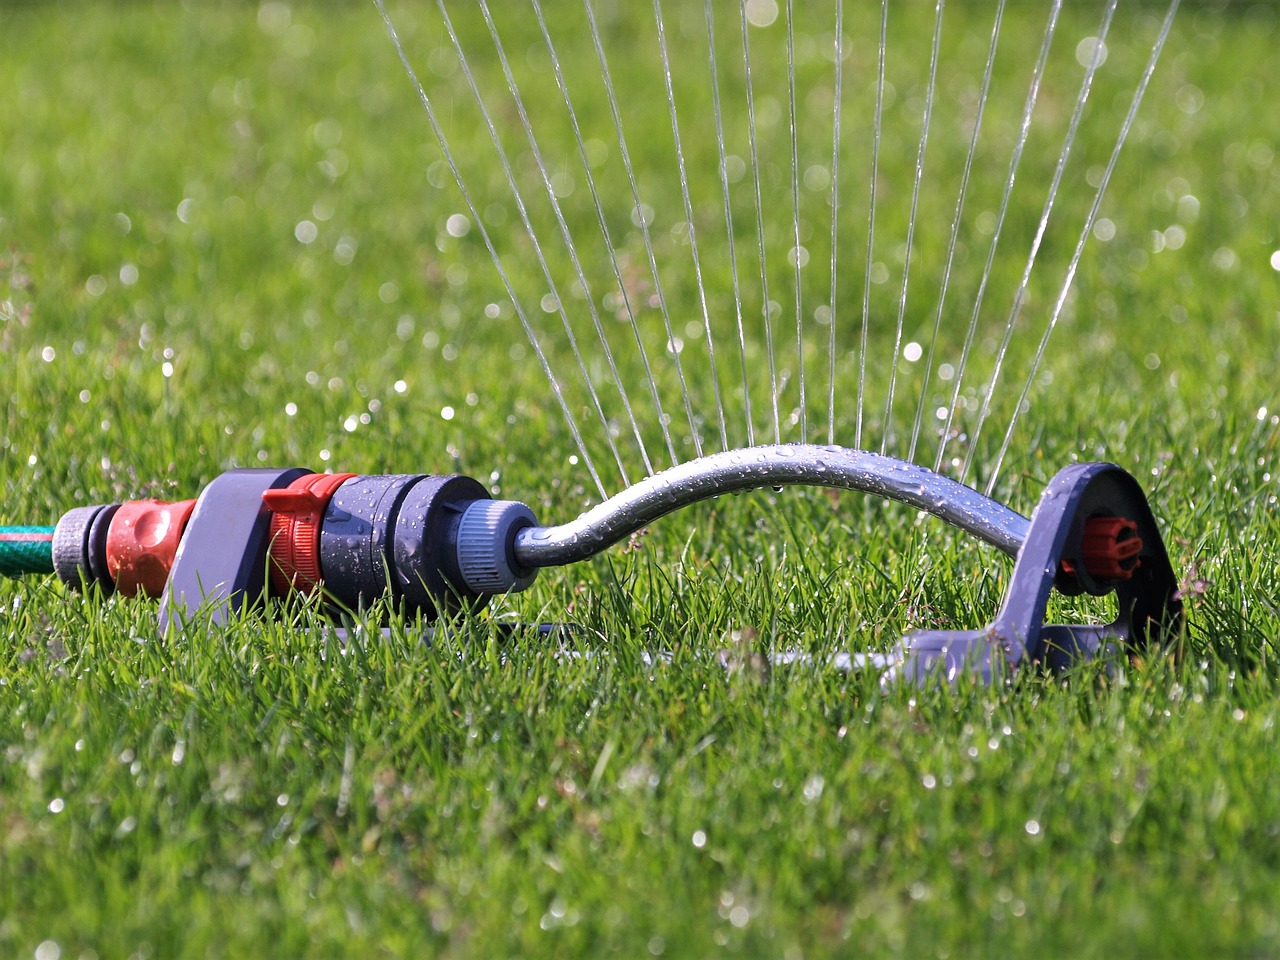
For more practical upkeep topics, visit the Maintenance Tips archive.
Before you repair anything, run a zone-by-zone inspection
A careful inspection helps avoid replacing good parts. Turn on each irrigation zone manually from the controller or valve box, then walk the full area while the zone is operating. View the sprinkler heads from several angles, not only from the patio, doorway or sidewalk. Some problems show up only when you stand behind the spray pattern or watch the head retract after the zone shuts off.
Check for these signs:
- Water bubbling around a head instead of spraying from the nozzle.
- A head that does not pop up fully or leans to one side.
- Overspray hitting pavement, walls, windows, vehicles or equipment pads.
- Fine mist instead of larger droplets, which can indicate excessive pressure.
- One unusually dry area beside one unusually wet area.
- Water pooling between cycles, especially near the lowest head in a zone.
- A zone that turns on weakly, does not turn on, or continues leaking after shutoff.
Flag each issue before digging or disassembling parts. A broken head and a clogged nozzle can look similar from a distance, but the repairs are different. A dry brown area may come from poor coverage, compacted soil, blocked spray, incorrect scheduling or a plant water need that has changed. Colorado State University Extension notes that poor or non-uniform coverage is a common reason lawns develop dry spots, even when the system appears to be running normally.
Match the symptom to the likely repair
The table below groups common irrigation symptoms by what they usually indicate and what to check first. It does not replace local codes, backflow rules or manufacturer instructions, but it can help narrow the problem before a contractor is called.
| Symptom | Likely cause | Practical repair step | When to call a professional |
|---|---|---|---|
| Broken spray, geyser or flooding at one head | Cracked head, missing nozzle or damaged riser | Shut off the zone, replace the head or nozzle with a matching type, and flush debris before reinstalling | If the lateral pipe is cracked or water keeps surfacing after the head is replaced |
| Head sprays sideways or onto pavement | Tilted body, wrong nozzle arc or obstruction | Straighten the head, adjust the arc and clear grass or mulch from the pop-up stem | If head spacing or system layout causes unavoidable overspray |
| Weak spray across the whole zone | Leak, clogged filter, pressure problem or too many heads on the zone | Check for visible leaks, clean nozzles and filters, and compare with other zones | If pressure is low at the supply, valves are failing, or design changes are needed |
| One head leaks after shutoff | Low-head drainage or a valve that is passing water | Observe whether the leak stops after a short drain-down period | If water continues for hours or days, because the valve may need service |
| Zone will not turn on | Controller setting, wiring, solenoid, valve or water supply issue | Confirm the controller program, rain sensor status and water supply | If electrical testing, valve rebuilding or wire tracing is required |
| Patchy watering after repairs | Mismatched nozzles, wrong spray pattern or uneven run times | Use matched nozzles within the zone and perform a simple catch-can check | If head spacing or pressure regulation needs redesign |
Repair broken heads without creating a new coverage problem
Replacing a sprinkler head is a common repair, but the part still has to fit the zone hydraulically. The replacement should match the original head type, spray pattern and precipitation rate as closely as possible. Mixing a rotor with a spray head in the same zone, or installing a nozzle that applies water much faster than the rest of the zone, can create uneven watering even if the new part appears to work.
First, shut off the irrigation zone and relieve pressure. Clear soil around the damaged head so dirt does not fall into the pipe. Unscrew the head from the riser, inspect the riser for cracks, and briefly flush the line into a bucket or away from the open fitting if debris is present. Install the replacement head at the correct height so the top sits level with the finished grade. A head set too low can be blocked by turf; a head set too high is more likely to be damaged by foot traffic, maintenance equipment or mowers.
After installation, run the zone and adjust the arc and radius. Keep the spray on the landscape, not on hard surfaces. EPA WaterSense materials identify overspray, broken heads and misdirected sprinklers as avoidable causes of outdoor water waste. Oregon State University Extension also recommends prompt repair of leaks because leaks reduce system pressure and overall irrigation efficiency.
Do not ignore nozzles, filters and pressure
Not every sprinkler repair calls for a new head. A clogged nozzle can produce a fan-shaped gap, a weak stream or an uneven spray pattern. Remove the nozzle, rinse it, and clean the small filter screen if the head uses one. Avoid pushing wire or sharp tools through a nozzle opening because that can enlarge the orifice and permanently change the spray pattern.
Pressure problems need the same attention as damaged parts. Too little pressure can keep heads from popping up or reaching the intended distance. Too much pressure can create misting, wind drift and overspray. EPA WaterSense notes that pressure-regulated spray sprinkler bodies can improve efficiency where pressure is high, and its program has published estimates showing meaningful annual water savings in suitable high-pressure systems. For maintenance teams, the practical lesson is clear: if several heads in a zone are misting, replacing only the nozzles may not solve the root problem.
A basic pressure check can help determine whether the issue is isolated or system-wide. If only one head performs poorly, inspect that head, its nozzle and the nearby fitting. If the whole zone is weak, look for a leak, clogged valve filter, partially closed valve or design issue. If every zone is weak, consider the supply, backflow assembly, main valve or pressure regulator before replacing heads throughout the system.
Valve and controller issues can look like head problems
When water seeps from the lowest head after a zone shuts off, the cause may be simple drainage. In many systems, water left in the lateral line drains out through the lowest sprinkler head for a short period. That is different from a valve that continues passing water. If the same head leaks continuously long after the irrigation cycle has ended, the valve may have debris, a damaged diaphragm, a worn seal or a solenoid issue.
Controller problems are also common after power interruptions, seasonal changes or manual overrides. Before digging, confirm the date, time, watering days, start times and run times. Look for multiple start times that unintentionally repeat the same program. Check whether the rain sensor, soil moisture sensor or smart controller setting has paused watering. A system that appears broken may simply be operating under a changed schedule.
For facilities, controller documentation matters. Keep a simple map of zones, valve locations and controller programs. Label each zone by the area served, not just by number. This reduces downtime during future repairs and helps prevent accidental overwatering near entrances, sidewalks, loading areas or sensitive equipment rooms. See also: clinical equipment.
Seasonal maintenance prevents many repairs
Sprinkler systems need different attention at startup, during peak watering months and before freezing weather. At spring startup, open the water supply slowly to reduce water hammer, then run each zone and look for cracked heads, damaged fittings and blocked nozzles. EPA WaterSense recommends spring inspections because winter conditions can damage irrigation equipment and lines.
During the watering season, inspect monthly or after major landscaping work. Edging, mowing, aeration, planting and utility work can shift heads or damage shallow lines. Trim turf around pop-up bodies so stems rise freely. Keep mulch from covering low spray heads. After any repair, run the full zone and adjust the pattern instead of assuming the replacement part is already aligned.
Before winter in freeze-prone areas, follow local winterization practices and manufacturer instructions. Some systems require professional blowout with compressed air; others have specific draining procedures. Incorrect winterization can crack valves, backflow components, heads and pipe. If the system includes a backflow preventer, check local requirements before servicing it, because testing and repair may require a certified technician.
Know the line between irrigation repair and fire sprinkler safety
The phrase “sprinkler repair” can refer to irrigation sprinklers or fire sprinkler systems. The difference matters. Lawn and landscape irrigation repairs may involve heads, nozzles, valves and controllers. Fire sprinkler systems protect life and property and are subject to codes, standards and authority-having-jurisdiction requirements.
NFPA 25 is widely used as the inspection, testing and maintenance standard for water-based fire protection systems. The Home Fire Sprinkler Coalition and NFPA public education materials also advise regular visual checks for home fire sprinklers, including keeping valves open and keeping sprinkler heads unobstructed. For healthcare, clinical, laboratory or commercial buildings, fire sprinkler work should be handled through qualified fire protection professionals and documented according to the applicable standard and local rules.
Do not paint fire sprinkler heads, hang items from them, block them with storage, shut off valves without authorization, or replace fire sprinkler components with irrigation parts. If a fire sprinkler head is damaged, leaking or corroded, treat it as an urgent safety issue and contact the responsible contractor, building manager or fire protection service provider.
A simple repair checklist
- Identify whether the system is irrigation or fire protection before touching any component.
- Run one irrigation zone at a time and flag visible problems.
- Check heads for damage, tilt, blockage and correct pop-up height.
- Clean clogged nozzles and filters before replacing complete assemblies.
- Replace broken heads with matching types and compatible nozzles.
- Look for signs of underground leaks, including soft soil, bubbling water and sudden pressure loss.
- Confirm controller schedules, sensor status and seasonal run times.
- After repairs, verify coverage and overspray while the zone is running.
- Document valve locations, parts replaced and recurring issues.
- Call a qualified professional for electrical faults, valve rebuilding, backflow work, major pipe breaks, pressure regulation or any fire sprinkler system issue.
The best repair is not always the fastest part swap. A head that breaks repeatedly may be too high, too close to traffic, or installed where maintenance equipment strikes it. A dry patch may need better head spacing rather than longer run times. A zone that needs frequent valve repairs may have debris entering the line. Looking for the cause, not only the symptom, keeps the system more reliable over time.
Frequently asked questions
How often should I inspect an irrigation sprinkler system?
Inspect at least at spring startup, during the main watering season and after landscaping or digging work. Monthly visual checks are useful for active systems because broken heads, clogged nozzles and overspray can waste water for weeks before anyone notices.
Why does one sprinkler head leak after the system turns off?
A short leak from the lowest head may be normal low-head drainage. If the leak continues for a long time or never stops, the zone valve may be allowing water to pass and should be inspected or serviced.
Can I replace one sprinkler head with any brand that fits?
Physical fit is not enough. The replacement should match the head type, spray pattern, arc, radius and precipitation rate used in that zone. Mismatched heads can create dry spots and overwatered areas.
What is the most common mistake after a sprinkler repair?
The most common mistake is failing to run the full zone after the repair. Every replaced head or nozzle should be checked while operating so the spray direction, radius, pop-up height and coverage can be adjusted.
Are fire sprinkler repairs the same as lawn sprinkler repairs?
No. Fire sprinkler systems are life-safety systems and should be maintained under the applicable codes, standards and local requirements. Use qualified fire protection professionals for inspection, repair and documentation.